Showing posts with label 05 - Battle of Salzwedel. Show all posts

Tuesday, December 7, 2010

The Battle of Salzwedel - Move 13

2000 to 2100

4 April 1813

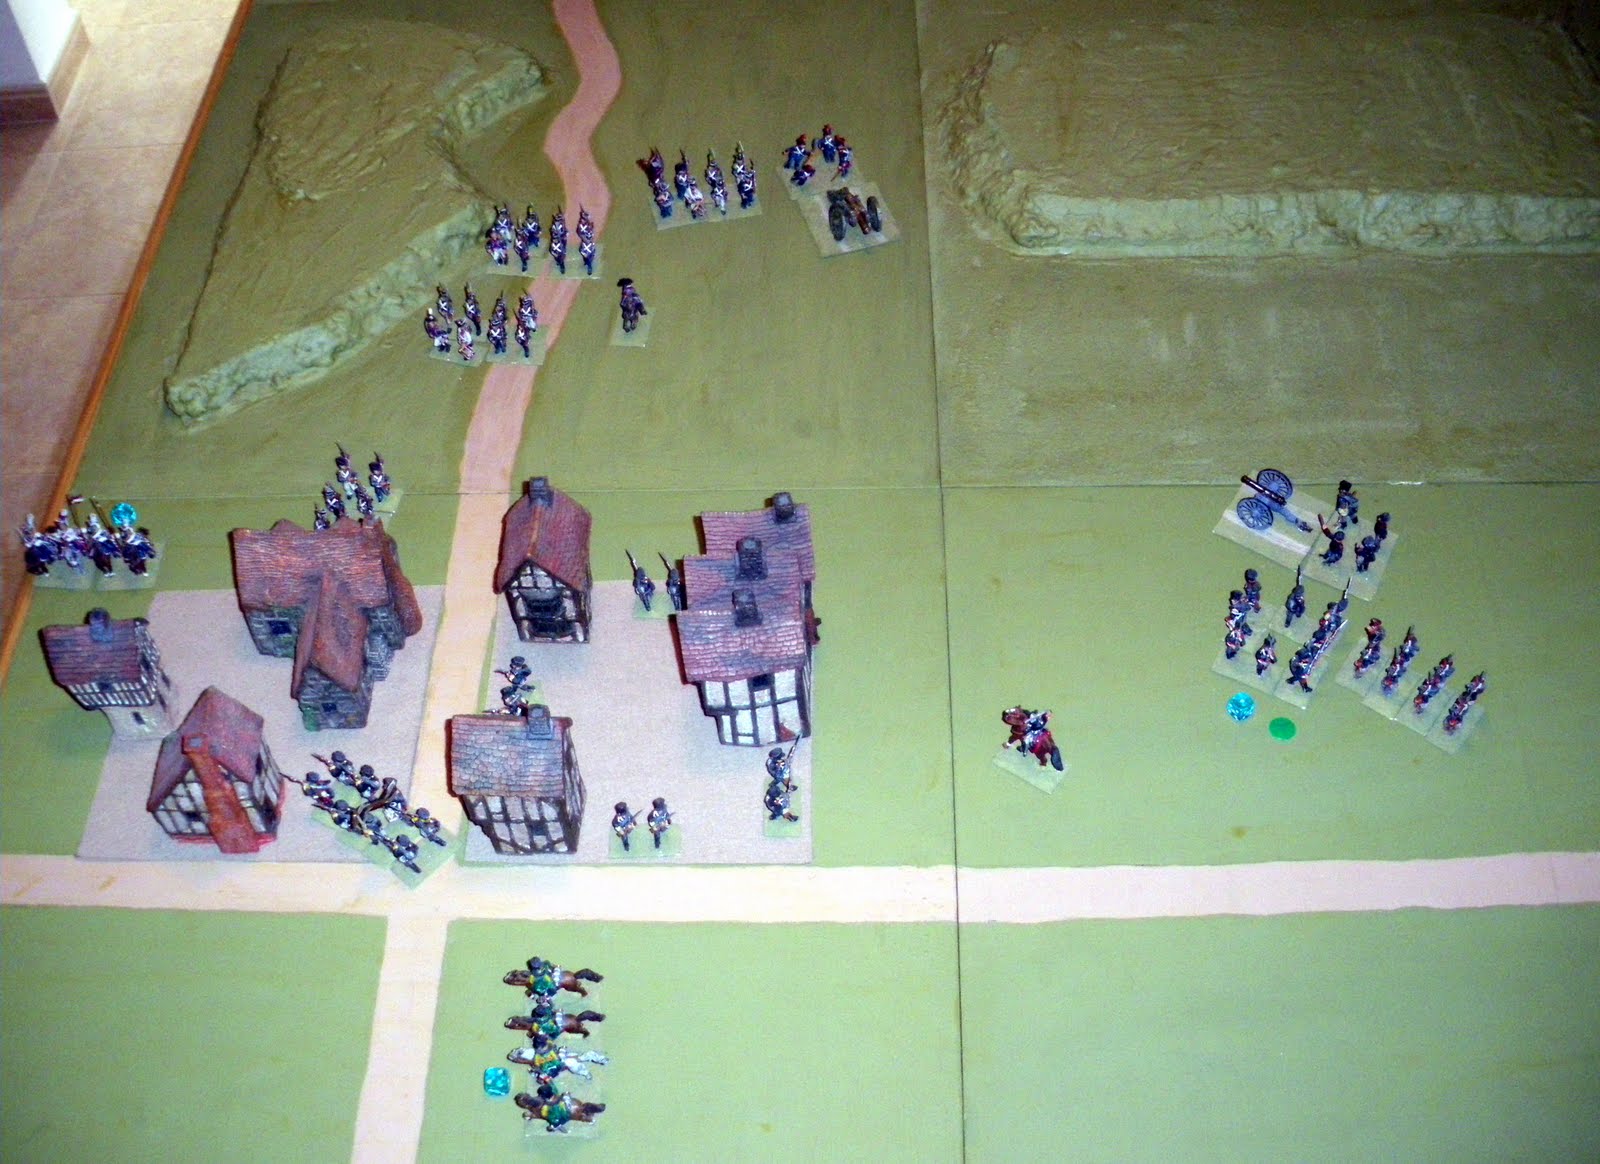
Table at the start of Move 13

French Move First

Orders – Engage

Command Points – 4


Artillery fire on town and miss

Manhandle gun towards town

Move Shaken infantry in town back half move

Test morale Shaken infantry, fail still Shaken

Prussians Move Second

Orders – Engage

Command Points – 5


Artillery fire on nearest infantry and miss

Move infantry behind town

Move infantry in town forward to skirmish range

Skirmish and inflict one hit

Polish infantry test morale and rout into supports

Supports test morale and pass

Prussian Victory

Bulow now controls both sections of the town

He also has considerable uncommitted reserves

Poniatowski also has reserves, but no time to regroup

He orders a withdrawal towards Domnitz

Battle Casualties

Prussians: 2 infantry and 3 cavalry casualties

Polish : 3 infantry and 3 cavalry casualties


Table at end of battle

Monday, December 6, 2010

The Battle of Salzwedel - Move 12

1900 to 2000

4 April 1813


Table at the start of Move 12

French

Move First

Orders – Engage

Command Points – 3


Artillery fire on nearest enemy infantry, miss

Move infantry closer to Salzwedel

Infantry in town skirmish, no casualties on either side

Prussians Move Second

Orders – Engage

Command Points – 6


Artillery fire on nearest infantry column, miss

Infantry line form column of march and move towards Salzwedel

Manhandle guns towards enemy

Infantry in town skirmish, both inflict one casualty on enemy

Prussians test morale and pass

Polish test morale and fail, now Shaken


Rule Note

Both cavalry brigades are now removed after three rounds of rout

Normally a brigade has three attempts to rally

If it fails on the third attempt it is removed.

After each attempt it must move away from enemy

This rule means that you don’t have to move routed brigades off the table.

Rule 16 deals with Rout and Reaction to Rout


Game Note

Most games would now end after 12 moves

In this case neither side has won, and the village is still disputed

It was agreed to allow one more move to resolve skirmish in town

Sunday, December 5, 2010

The Battle of Salzwedel - Move 11

1800 to 1900

4 April 1813

Table at the start of Move 11

Prussians Move First

Orders – Engage

Command Points – 6


Move artillery and unlimber (now within command range)

Landwehr change into column of march and move behind town

Infantry in town skirmish, no casualties on either side

French Move Second

Orders – Engage

Command Points – 6


No artillery fire, general out of command range

Move routing cavalry away from formed brigades

Move general to artillery

Manhandle guns towards enemy

Return to town

Infantry in town skirmish, no casualties on either side

Rule Note

To issue orders the corps commander must be within 8”.

When a corps is widely deployed, as are these two, he cannot be within 8” of all brigades

So he must decide where is the most important.

In this case he must decide between skirmish in the town or artillery fire.

Rule 3 covers command and control for corps commander.

Saturday, December 4, 2010

The Battle of Salzwedel - Move 10

1700 to 1800

4 April 1813


Table at the start of Move 10

French Move First

Orders – Engage

Command Points – 4

Guns unable to fire, general out of command range

Move cavalry to edge of town in column

Prussian cavalry test to Opportunity Charge, fail

Deploy cavalry into line

Skirmish in town, no casualties on either side


Prussian Move Second

Orders – Engage

Command Points – 6

General moves to artillery, limber and move guns

General moves back to town

Orders hussars to charge enemy lancers

Lancers test morale to counter charge, fail

Hussars charge home on stationary lancers


Hussars win melee

Lancers receive two more casualties, total three, automatic rout


Hussars receive one more casualty, total three, automatic rout

Rule Note

When infantry brigades receive six casualties, or cavalry or artillery three casualties, they automatically rout. This is to prevent brigades fighting to the last man due to lucky dice.

In this round the Prussian cavalry won their melee with the lancers, but their single casualty brought their total to three and resulted in an automatic rout for both brigades

Rule 17 explains Morale and Automatic Routs.

Friday, December 3, 2010

The Battle of Salzwedel - Move 9

1600 to 1700

4 April 1813


Table at the start of Move 9

French Move First

Orders – Engage

Command Points – 4


Another low roll for command points

Poniatowski is too far from guns to order them to fire

He forms column with his cavalry to pass by town

He brings up his reserve infantry to support the skirmish

Infantry in the town exchange fire but again both miss


Prussian Move Second

Orders – Engage

Command Points – 7


Maximum command points for Bulow

He is too far from guns to order them to fire

He now moves within command range

Orders guns to manhandle forwards towards enemy

Moves landwehr brigade towards the town


Bulow now moves back to take command of the town fighting

Both sides exchange fire

French miss

Prussians inflict one hit.

French test morale and pass


Rule Note

Skirmish fire can be very ineffective, especially in a built up area

One D6 is rolled and firers require a total of 6 for a hit

In these rules even one hit is serious.

Each casualty is minus 1 for firing, melee and morale.

Rule 11 deals with skirmish fire

Thursday, December 2, 2010

The Battle of Salzwedel - Move 8

1500 to 1600

4 April 1813


Table at the start of Move 8


French Move First

Orders – Engage

Command Points – 4


Artillery fire on town, the only target within range, but miss

Poniatowski orders his leading brigade into the town in skirmish order

He remains close to the town to control the skirmish


Prussians Move Second

Orders – Engage

Command Points – 6


Bulow orders the artillery to fire on the enemy guns, they miss

He also orders the infantry out of square and into line

He then rides to the village to take command of the fighting there


Both infantry brigades in the village are in Skirmish order

They exchange fire, but neither score a hit


Rule Note

A general must be within command range to issue orders

So he must be within 8” of his artillery of the end of the move to fire next move

On Engage status the general must fire or skirmish if he can

When one side skirmish with the other, both fire

As both of these brigades are equal this is a dangerous manoeuvre

If the Poles lose this skirmish they will lose the battle

Wednesday, December 1, 2010

The Battle of Salzwedel - Move 7

1400 to 1500

4 April 1813


Table at the start of Move 7

French Move First

Orders – Engage

Command Points – 4


With so few command points Poniatowski is unable to move his cavalry behind Salzwedel to prevent the Prussians from entering.

He orders his artillery to fire again on the square, but this time they miss

He orders his leading brigade into the empty town section

He orders the remainder of his infantry to change into column of attack


Prussians Move Second

Orders – Engage

Command Points – 5

Bulow orders the brigade in the right hand section of Salzwedel to occupy the buildings

The brigade moving behind the town now enter the left hand section

The cavalry will form line to cover the exposed infantry as they do so


Bulow now moves to join his Shaken infantry square to add his support

He orders the square to retreat away from the enemy artillery

They test and pass their morale, becoming Disordered.

Rule Note

It was vital for Bulow to rally his Shaken infantry square

By moving within command range he adds plus 1 to their morale test

By moving them out of artillery range he adds another plus 1

They rolled 5, so they easily passed their morale test

They become Disordered, and are the end of the move will be fully formed.

Rule 17 covers Morale

Tuesday, November 30, 2010

The Battle of Salzwedel - Move 6

1300 to 1400

4 April 1813


Table at the start of Move 6


Prussians Move First

Orders – Engage

Command Points – 6


Bulow orders the first brigade to occupy the right hand section of Salzwedel

He also sends a second brigade to occupy the left hand section.


French Move Second

Orders – Engage

Command Points – 5


Poniatowski orders his artillery to fire on the enemy square.

The gunners score a hit, and the Prussians have to test their morale

The Prussians fail and are Shaken.


Poniatowski must prevent the enemy from taking possession of Salzwedel

He orders his lancer brigade to move forward towards the town

He then brings up the remainder of the corps, ready to dispute the town.

Rule Note

The Prussian infantry thought that they were out of range of the enemy artillery.

In fact they were just in range.

The Polish gunners rolled 2x6 and scored a hit.

The Prussian infantry then had to test morale

They failed and are Shaken

They will have to test morale again next turn

If they fail again they will rout and probably take the landwehr with them

This could easily lose the battle for the Prussians

Rule 7 covers artillery fire

Monday, November 29, 2010

The Battle of Salzwedel - Move 5


1200 to 1300

4 April 1813


Table at the start of Move 5

Prussians Move First

Orders – Engage

Command Points – 4


Bulow moves to Salzwedel to sort out his Shaken cavalry

He orders them to withdraw from the town and move out of range of the enemy cavalry.

He then orders his infantry to occupy the buildings in the right hand section of the town.

Finally he moves back within command range of his corps so that he can order his artillery to fire should the enemy advance.

When his cavalry test their morale they pass and become Disordered.

French Move Second

Orders – Engage

Command Points – 3


A very disappointing dice roll for command points.

Poniatowski orders his gunners to manhandle their guns closer to the enemy

He then leads the remainder of the corps towards the town. They are currently in column of march, and will have to deploy before they can attack.

Rule Note

The Prussian cavalry roll another 6 to test morale.

This time they have supports in the village and are more than 16” from the nearest enemy. This makes their total 8

Minus 2 for Shaken, another 2 for casualties and 1 for being out of command range leaves them with 3 – just enough to pass test.

They become Disordered, but will be fully formed at the end of the move.

Full details on testing Morale can be found in Rule 17

Sunday, November 28, 2010

The Battle of Salzwedel - Move 4

1100 to 1200

4 April 1813


Table at the start of Move 4

French Move First

Orders – Engage

Command Points – 4


Winning the cavalry melee has given Poniatowski an initial advantage.

Poor command dice robs him of the opportunity to exploit it.

There is now no danger from enemy cavalry, so his leading infantry brigade forms column of attack and prepares to advance on Salzwedel.

His artillery move forward and unlimber to pin the enemy whilst the remainder of the corps deploys ready to advance.


Prussians Move Second

Orders – Engage

Command Points – 5


Bulow must regain the initiative before the enemy cavalry move forward to pin his infantry.

He orders his leading infantry brigade forward and then into the town.

His second brigade moves to the right to take up position between the town and his artillery.

His Shaken cavalry must test morale.

They fail to rally, but are fortunate not to rout.


Rule Note

Both sides can have multiple moves providing that there is no enemy nearer than 16”. This is how the leading Prussian infantry could move forward and enter the town.

The Shaken Prussian cavalry rolled a 6 on 1xD6. They added plus 1 for being in the town. However they lost 1 for no supports, 1 for no general within command range, 2 for casualties and 2 for being Shaken. This left them with Plus 1. If they had lost one more point they would have Routed.

Full details on testing Morale can be found in Rule 17